KEY POINTS
Cracked grout traps moisture, creating the perfect environment for hidden mold growth.
Simple grout repairs can prevent stains, bacteria, and long-term tile damage.
Non-sanded grout is ideal for shower walls and small joints.
Proper mixing, timing, and curing are essential for a long-lasting repair.
Color-matching your grout helps the repair blend seamlessly into the rest of your shower.
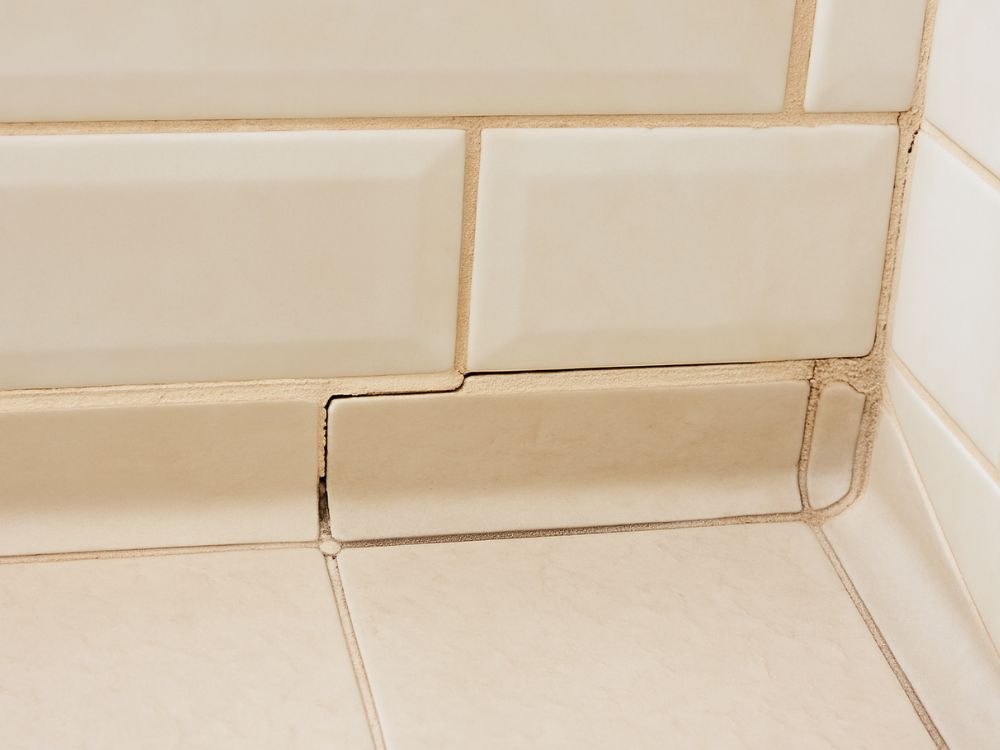
Why Cracked Shower Grout Is More Serious Than It Looks
Your bathroom is supposed to be the cleanest room in the home — but cracks in your grout can quietly turn it into one of the most problematic. Grout acts as a protective barrier between tiles, sealing gaps so moisture can’t slip underneath the surface. When it cracks, even slightly, water begins to seep behind the tiles, creating a warm, damp pocket where mold can thrive unseen.
Beyond mold, damaged grout also compromises the stability of your tile installation. Without a strong, sealed joint, tiles become more vulnerable to shifting, lifting, or cracking. A small hairline crack today can become a much bigger repair later.
The good news? Most shower-grout cracks can be fixed quickly and affordably with a basic bag of grout powder and a few simple tools.

The Best Type of Grout to Use for Shower Repairs
For vertical surfaces like shower walls, non-sanded grout is usually the best option. It’s smooth, sticky, and designed for joints smaller than ⅛ inch — exactly the size you find between most shower tiles. Because it doesn’t contain gritty particles, it won’t scratch delicate tile finishes, and it spreads easily across small or narrow spaces.
Sanded grout is still a great option, but it’s better suited for flooring or any space where wide grout lines need added durability and structure.
Step-By-Step: How to Fill Cracks in Shower Grout Like a Pro
Repairing cracked grout is surprisingly simple once you mix the proper consistency. Here’s a clean process to follow:
1. Mix the grout
Pour the grout powder into a small container and slowly add water until it reaches a thick, peanut-butter-like texture. The mixture should be smooth with no dry lumps. If it feels runny, add a pinch more powder; if it’s too stiff, add a splash of water.
Allow the mixture to rest for 10 minutes so it can thicken and activate.
2. Apply the grout
Using a trowel, putty knife, or even a gloved fingertip for small corners, press the grout firmly into the crack. The goal is to completely fill the gap so water can no longer slip behind the tile.
3. Remove excess
After 15–30 minutes, lightly wipe the surface with a damp sponge to smooth the joints and remove any residue before it dries completely.
4. Let it cure
Grout typically needs 24–72 hours to harden fully. Avoid running the shower during this curing window so the material sets evenly and develops maximum strength.
For larger cracks or crumbling grout, you may need a grout saw to remove damaged areas before you begin. This gives you a fresh base and ensures your new grout bonds properly.
Choosing the Right Grout Color (And What to Avoid)
Grout powder comes in dozens of colors, giving you plenty of flexibility. If you’re simply repairing cracks, choose a shade that blends seamlessly with your existing grout. This makes your repair practically invisible once everything dries.
However, if you’re doing a larger refresh or want a bolder look, this is a perfect opportunity to switch to a new shade — something modern, darker, warmer, or more dramatic.
Just keep in mind:
- Very light grout can highlight stains over time.
- Very dark grout may show soap scum buildup faster.
- Warm colors may hide “pink mold” less effectively.
Neutral tones (beige, grey, warm white) are safe, timeless choices for showers.
Epoxy Grout: A Different Option to Consider
Epoxy grout has grown in popularity because it’s water-resistant, stain-resistant, and doesn’t require water for mixing. It’s an excellent long-term option for wet spaces — but keep in mind:
- It usually looks different from traditional cement-based grout.
- It’s harder to match if your shower currently uses standard grout.
- It sets faster, which means less working time.
If your entire shower needs re-grouting, epoxy can be an upgrade. But for small crack repairs, sticking to traditional non-sanded grout gives the most uniform appearance.
A Small Fix That Makes a Big Difference
Cracks in shower grout may seem minor, but they can lead to hidden mold, loose tiles, and constant moisture issues. Fixing them early is one of the simplest ways to protect your bathroom, keep your shower sanitary, and extend the lifespan of your tile walls.
A basic DIY grout repair takes less than an hour of active work and costs very little — yet the payoff is huge. Your shower stays cleaner, safer, and far more durable.
Frequently Asked Questions
How long should I wait before using the shower after repairing grout?
Ideally 24–72 hours, depending on humidity and product instructions. The longer you allow it to cure, the better the result.
Can I apply new grout over old grout?
For hairline cracks, yes. For deeper cracks or brittle areas, it’s best to remove the failing grout with a grout saw first.
What if my grout keeps cracking?
This may indicate shifting tiles, poor original installation, or water penetration. In that case, a deeper repair or full re-grouting may be needed.
Should I seal the grout after repairing it?
Sealing helps protect against stains, mold, and moisture absorption. Many homeowners choose to seal shower grout once it’s fully cured.
Can I change grout color without replacing tiles?
Absolutely. You can re-grout the entire area with a new shade or use grout colorant to refresh existing grout lines.