Disclosure: As an Amazon Associate, I earn from qualifying purchases. Some links in this post are affiliate links, which means I may receive a small commission if you click and buy something-at no extra cost to you.
You ever find yourself hauling a giant planter onto your porch, pouring in bag after bag of pricey potting mix, and then realizing your poor plant’s roots barely reach halfway down? I’ve made that mistake more times than I care to admit. It’s almost like watching your money vanish into a bottomless pit-except the pit is a fancy ceramic pot and you’re the one holding the shovel. The worst part? You look at your plant, sitting there with a tiny root ball, and wonder why you just spent a small fortune on dirt it’ll never touch.
After a few seasons of this, I started thinking: there’s got to be a better way, right? Turns out, stuffing a massive planter full of soil isn’t just tough on your wallet-it can actually make life harder for your plants, too. Who knew? I started asking around, reading up, and experimenting with anything I could find in the garage or recycling bin. Some ideas were winners, some were…well, let’s just say my plants were very forgiving.
If you’re tired of wasting cash (and your back), you’re in the right place. I’m going to walk you through some clever tricks I’ve picked up that’ll keep your planters light, your plants happy, and your budget intact. These hacks have honestly made container gardening way more fun for me, and I hope they do the same for you. Let’s dig in (pun intended)!
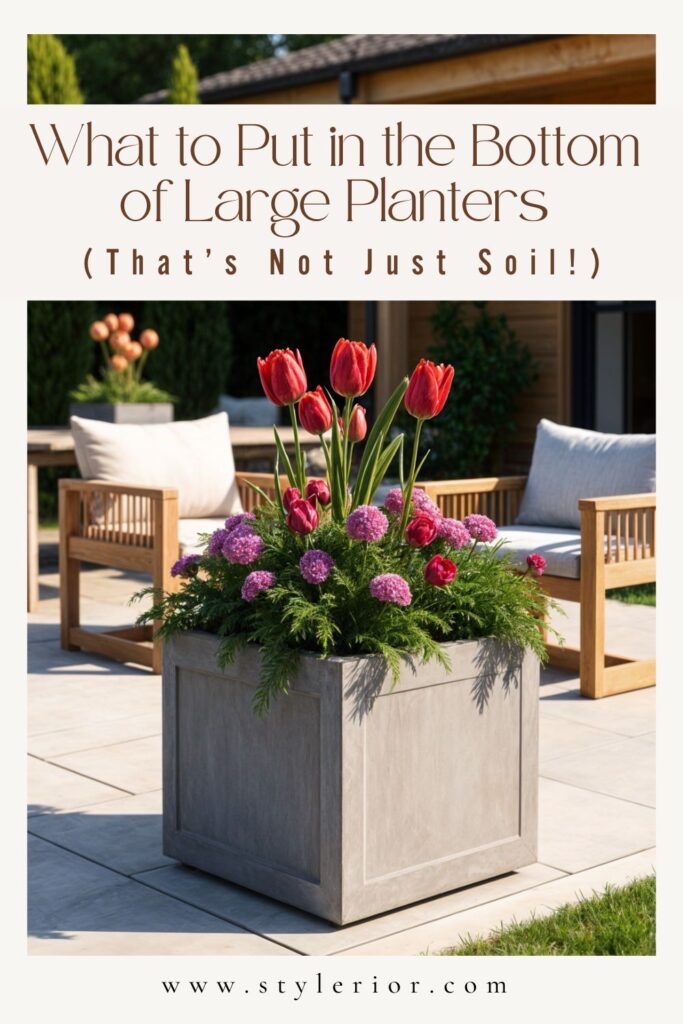
Why Filling Large Planters with Only Soil Is a Bad Idea
Let’s get this out of the way: potting soil is expensive. Good stuff isn’t cheap, and those big planters can swallow up bag after bag. I remember the first time I tried to fill one of those half-barrel planters for my front porch-by the time I was done, it felt like I’d spent more on dirt than on the plant itself. I even started calculating how many coffees I could’ve bought instead. Spoiler: it was a lot.
Then there’s the weight. A big planter filled to the brim with wet soil is basically a boulder. Want to move it? Good luck. I once tried to drag a planter across my deck and nearly threw my back out. My neighbor got a good laugh out of it, at least. If you’re someone who likes to rearrange your patio every season (or every week, like me), heavy planters quickly become a major headache.
And don’t get me started on drainage. Too much soil in a deep pot means water can get trapped at the bottom, turning your planter into a swampy mess. Roots sitting in soggy soil for too long? That’s a one-way ticket to root rot. I’ve lost more than one plant this way-usually the ones I was most excited about. It’s frustrating, but thankfully, it’s avoidable.

Lightweight Filler Ideas for the Bottom of Big Planters
So, what’s a gardener to do? Here are some of my favorite lightweight tricks for filling up space in those deep containers-without breaking the bank or your back.
1. Plastic Bottles or Milk Jugs
This one’s a classic, and honestly, it’s saved me a ton of money over the years. I rinse out old water bottles or milk jugs, screw the caps on tight, and pile them in the bottom of my planters. They’re basically just taking up space, and they keep things nice and light. The key is to keep the caps on-otherwise, they’ll just fill up with water and soil, and you’ll lose the benefit. I stick to using these for flowers and decorative plants-not veggies-just to be safe, since you never really know what’s in the plastic. Plus, it feels good to give those bottles a second life before they head to the recycling bin.

2. Styrofoam Peanuts or Blocks
If you’ve ever gotten a package full of those annoying peanuts, don’t toss them! Bag them up (so they don’t mix with your soil) and use them as filler. They’re super light and help with drainage. I usually put them in an old mesh produce bag or even a pillowcase before adding them to the pot. That way, if I ever need to repot, I’m not picking Styrofoam out of the soil for hours. Just make sure they stay put-nobody wants to see white peanuts floating to the surface after a heavy rain. And if you’re worried about the environment, look for the biodegradable kind-they work just as well and break down over time.

3. Broken Terracotta Pots or Ceramic Shards
I’m a bit clumsy, so I’ve got a collection of broken pots in my shed. Turns out, those shards are perfect for lining the bottom of planters. They keep the soil from clogging the drainage holes and give roots something to anchor to. Plus, it feels good to give those busted pots a second life. I like to arrange the pieces so they create little air pockets, which helps with drainage even more. If you’re feeling creative, you can even use colorful shards to add a bit of flair-no one sees them, but you’ll know they’re there!
4. Recycled Cardboard or Egg Cartons
If you’ve got extra cardboard or egg cartons lying around, tear them up and toss them in the bottom. They’ll break down eventually, but they’re a great short-term filler-especially if you layer something else on top. I’ve used this trick when I’m in a pinch and need to fill a few inches quickly. Cardboard is surprisingly sturdy at first, and it helps keep the soil from settling too much. Just remember, it will decompose over time, so it’s best for seasonal planters or annuals you replant each year.
5. Wood Chips or Mulch
For outdoor pots, I like to use wood chips. They’re light, natural, and break down slowly. I usually have a bag or two left over from mulching my flower beds, so it’s a win-win. Wood chips also help keep the soil from compacting, and they add a bit of insulation for roots during hot or cold weather. If you’re worried about bugs, just make sure the wood is clean and hasn’t been treated with any chemicals.
6. Upside-Down Nursery Pots
Got a stash of empty nursery pots from last year’s plant haul? Flip one upside-down inside your big planter before adding soil. It takes up space and creates a nice air pocket. I use this trick all the time for my annuals. Sometimes I’ll even stack two or three, depending on how deep the container is. It’s a great way to reuse those flimsy pots that always seem to pile up in the garage.

7. Crushed Cans or Tin Foil Balls
If you’re a soda drinker, save those cans! Crush them and pile them in the bottom of your planter. They’re sturdy and light, and they work especially well for deep pots with shallow-rooted plants. I’ve also used balls of aluminum foil in a pinch-they’re easy to shape and fill awkward spaces. Just make sure to rinse everything out first; you don’t want any sticky surprises attracting ants or other critters.
Heavy Fillers for Extra Stability
Sometimes you want your planter to stay put-like if you’ve got a tall plant that might tip over in the wind, or you’re planting outside where things get blustery. Here are some heavier options that have worked for me when I needed a little extra peace of mind.
1. Gravel or River Rocks
A layer of rocks at the bottom adds weight and helps with drainage. I use this trick for my tall planters that like to catch the wind. River rocks look nice and are easy to find at garden centers or even along a creek (if you’re lucky enough to have one nearby). The extra weight keeps the planter stable, and the rocks create channels for water to escape, which is a win-win. Just be aware: rocks can make the pot heavy, so place it where you want it before filling!

2. Broken Bricks or Concrete Chunks
If you’ve done any home repairs lately, chances are you’ve got some broken bricks or concrete lying around. They’re perfect for anchoring big pots-especially if you’re planting a small tree or shrub. I’ve used leftover bricks from a patio project, and they worked like a charm. They’re not pretty, but once they’re buried, no one will ever know. Plus, you’re recycling something that would otherwise go to waste.
3. Sandbags or Zip Bags Filled with Sand
I’ve used old zip-top bags filled with sand to add weight without the mess. They keep everything stable and can be pulled out if you ever want to move the pot. This trick is especially handy if you rent or like to rearrange your outdoor space often. The sand stays contained, and you don’t have to worry about it mixing with your soil or clogging the drainage holes.
4. Heavy Clay or Terracotta Shards
Big chunks of broken clay pots add both weight and drainage. I usually layer these under lighter fillers for the best of both worlds. The clay helps anchor the pot, and the irregular shapes create air pockets that roots love. If you have a lot of broken pots (like I do), this is a great way to use them up and keep your planters sturdy.
How to Layer Your Planter
Here’s my go-to method for layering a big planter, which has worked well for everything from petunias to dwarf fruit trees:
- Bottom third: Fill with your chosen filler (light or heavy, depending on your needs). Don’t be afraid to mix and match-sometimes I’ll use a layer of rocks, then bottles, then wood chips, just to get the right balance.
- Middle: Lay down a barrier-landscape fabric, mesh, or even an old t-shirt works. This keeps soil from sifting down into the filler. The barrier also makes it easier to repot later, since the soil and filler stay separate.

- Top: Add your good potting mix. Leave an inch or two at the top so water doesn’t spill over. I always use the best soil I can afford for this layer, since it’s where the roots will actually grow.

This layering method helps with drainage, keeps the planter light (or heavy, if you want), and makes the most of your potting mix. Plus, it’s easy to adjust based on what you have on hand.
Mistakes I’ve Made (So You Don’t Have To)
- Don’t block the drainage holes. I learned this the hard way-always make sure water has an escape route! If your filler shifts and covers the holes, you’ll end up with a soggy mess. I usually put a piece of mesh or a shard of pottery over each hole before adding anything else.
- Skip plastic fillers for food crops. I play it safe and use only natural materials if I’m growing veggies or herbs. You never know what chemicals might leach out, and it’s better to be safe than sorry. For edibles, I stick to things like wood chips, rocks, or even just extra soil.
- Match your plant to the pot depth. Shallow-rooted plants don’t need a foot of soil, but deep-rooted ones do. Plan accordingly! I once tried to grow tomatoes in a pot with too much filler, and they just didn’t thrive. Now, I check the root needs of each plant before deciding how much filler to use.
When to Skip Fillers and Go All-Soil
Some plants just need room to stretch their roots. If you’re planting deep-rooted veggies or a big shrub, go ahead and fill the pot with soil. Plants like tomatoes, peppers, or even small trees will thank you for the extra space. Same goes for smaller or narrow planters-sometimes, less is more. If the container isn’t very deep to begin with, fillers might take up too much valuable root space.
When in doubt, think about what your plant needs most. If it’s a heavy feeder or a deep drinker, more soil is usually better. For annuals or shallow-rooted flowers, fillers are a great way to save money and make your planters easier to manage.
Wrapping Up
You don’t have to waste money or lug around heavy bags of soil to fill big planters. With a little creativity (and maybe a few recycled bottles), you can create the perfect home for your plants and save your back in the process. I’ve tried just about every trick in the book, and these are the ones that have stuck with me year after year.

Don’t be afraid to experiment with what you have on hand. Gardening’s all about finding what works for you-and sometimes, the best solutions are hiding in your recycling bin. Every season brings new challenges and new ideas, so keep an open mind and have fun with it.
Final tip: always think about what your plant actually needs. Sometimes function really does meet form. Happy planting, and may your containers be both beautiful and budget-friendly!